Crafting Connections with our Zapier Integration
4 Dec 2017
Did you know that OpenCRM has a Zapier integration?
What’s Zapier, I hear you ask? Well…however much you (and we, let’s be honest) want your CRM system to be at the centre of every single aspect of your business, we know that isn’t always possible.
You’ll have apps and systems that you will use for very specific reasons, like instant messaging for example, that your CRM just doesn’t fulfil.
But sometime, the information that goes into those external apps and systems relates to something within your CRM…so what do you do?
You can manually copy and paste it, but that gets tedious really quickly.
Which is exactly why we’ve been secretly working on a new way of integrating with these external systems. And the best part? You can configure these yourself!
How does the Zapier integration work?
Zapier is a tool that allows you to connect two systems in order to carry out a very specific task.
[updated] We’ve recently released a dedicated connection, meaning that it is even easier to set up your OpenCRM – Zapier integration. That’s a link to a webinar that will walk you through how to setup and use this integration.
Although we don’t have a dedicated connector (yet), If you don’t want to use our dedicated connection (or have another reason), the flexibility of both Zapier and OpenCRM means that you can use the webhook connector to link OpenCRM to one of your other systems.
You have two options:
- Outbound: You can have a record created in OpenCRM be sent out to another system automatically, or
- Inbound: You can create a record in OpenCRM when your other system sends one over.
Oh the possibilities!
This simple and flexible way of integrating external systems with OpenCRM gives you a great deal of power.
Now you do, of course, need to be careful as to what you are bringing into OpenCRM and what you are sending out. You always need to think about the data protection, as well as security implications for moving data around in this way.
But even with this word of warning, the possibilities are endless…but it’s easy for me to tell you that, let me show you.
Use Zapier to create a Lead in OpenCRM from AWeber
Let’s say that your company farms out all of its marketing, you’ve got a great firm who does all of this for you and they regularly send you a list of all those who have expressed enough interest to warrant a phone call from one of your sales team.
Instead of waiting for this list to come through and manually uploading it into OpenCRM, wouldn’t it be easier to just have them come through automatically? The second they have moved from being more than just another email subscriber, you can use this Zapier integration to bring them into OpenCRM automatically.
Now, when a subscriber in AWeber is moved to a particular list, you can have them automatically created as a Lead in OpenCRM.
Before we get started
To set this up, you will need:
- Access to your AWeber account
- A Zapier account (don’t worry, they have a free version)
- API activation and codes from OpenCRM – Just get in touch with your account manager here who will go through a short security process with you.
Setting up the AWeber side first
We’ll start with configuring your AWeber connection.
- Go to Zapier and click to create a new Zap
- Search for and select AWeber from the list
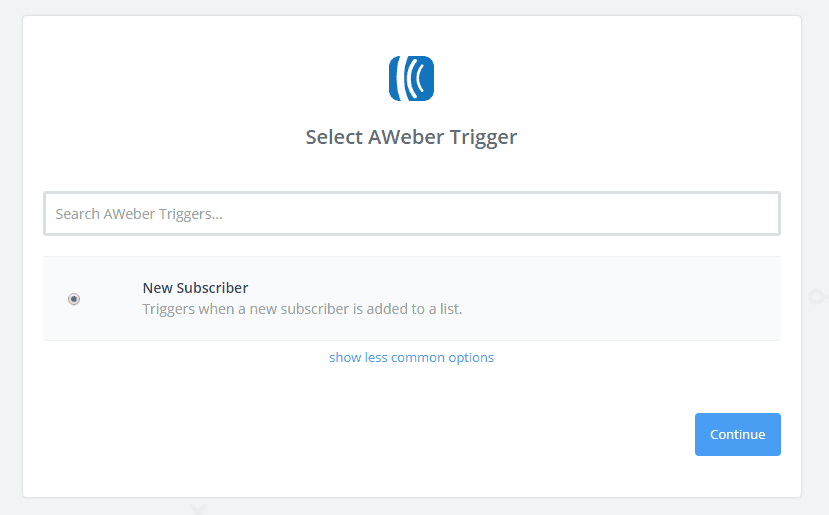
- Click to use the “New Subscriber” Trigger
- It will then walk you through connecting to your account
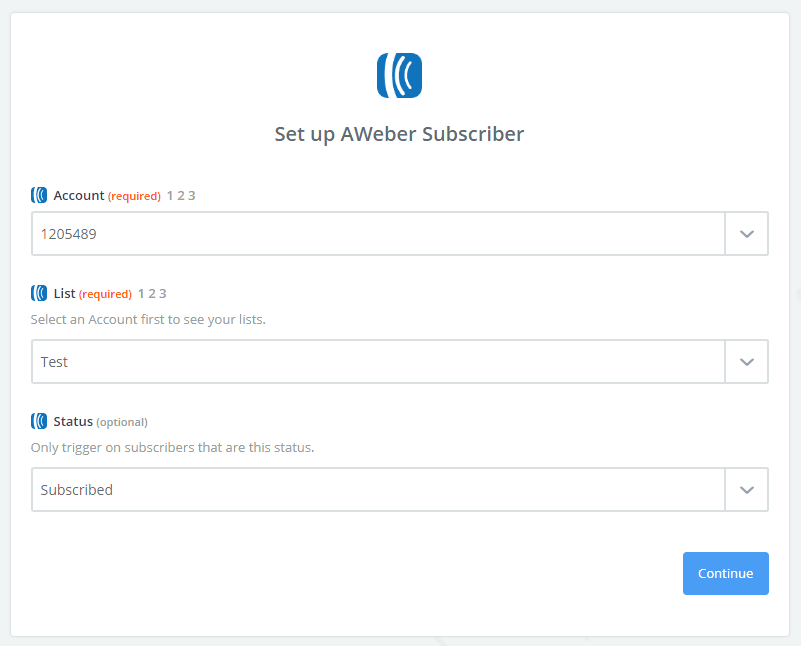
- You can then select the Account, which List you want to use, and the status of the subscriber.
- Then you can run a test. Just make sure you’ve got at least one subscriber in there. You might even want to test with your own name and email address to make sure.
Now it’s time to set up the webhook that will create the Lead in OpenCRM

1. Select the Webhooks app in Zapier (updated – this is where you’ll select the OpenCRM connection instead!)

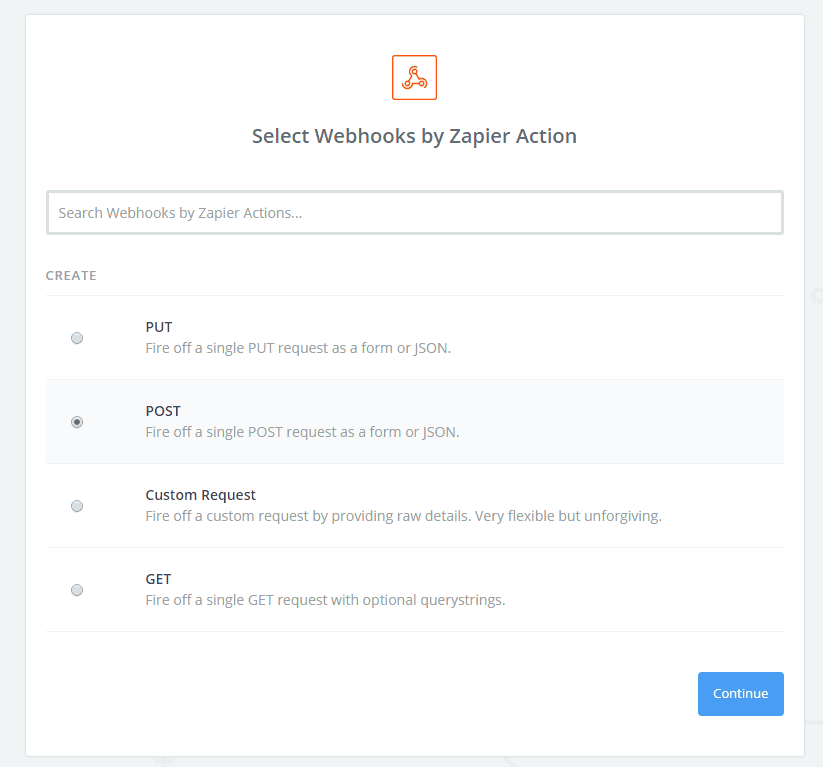
2. Then select “Post” from the next screen, this just means it will post the information from AWeber to OpenCRM
3. Now here’s the tricky bit, you will need to configure the actual webhook:
a. You’ll start by setting the URL to https://yoursystemname.opencrm.co.uk/api/rest/edit_lead/recordid/0/module/leads
b. Next you’ll set the Payload Type as “form”
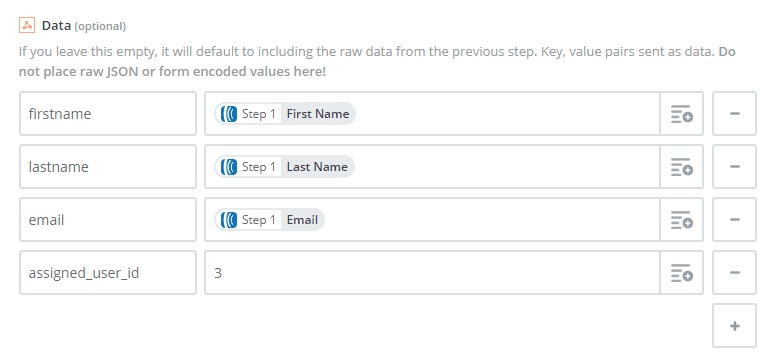
c. Then you’ll need to set which fields from your AWeber subscriber go with which fields in OpenCRM. You’ll select the fields direct from AWeber by clicking on this icon:

then you’ll manually enter the field id from OpenCRM. If you aren’t sure what the field id is, give our support team a call.

4. You can then ignore the others fields until you get to Headers. This is where the API keys you got from our support team will go.The first must have the name “KEY1” next to it, the second “KEY2” like so:

5. And then it’s time to test again. Once you’ve clicked to test, make sure you double check your OpenCRM system to make sure everything has come in as expected.
Now you can go through to name and activate your Zap.
Once it is active, any subscribers to that particular list will be brought into OpenCRM from AWeber without you having to do anything at all.
How cool is that?
Although I originally hail from northern California, as soon as I arrived in Yorkshire I knew it was the place for me! At OpenCRM, I started out in the Business Development team, and then moved into compliance and Q&A because I love telling people what to do…ok, that’s not the real reason, but it makes for a good bio one-liner. When I’m not in the office, you can usually find me tramping through the dales, crafting, gardening, or with my nose in a book.

